Thanks to the Predefined Data feature , we can prepare a clone of the survey we have prepared and make an audience-specific analysis.
Predata Preparation:
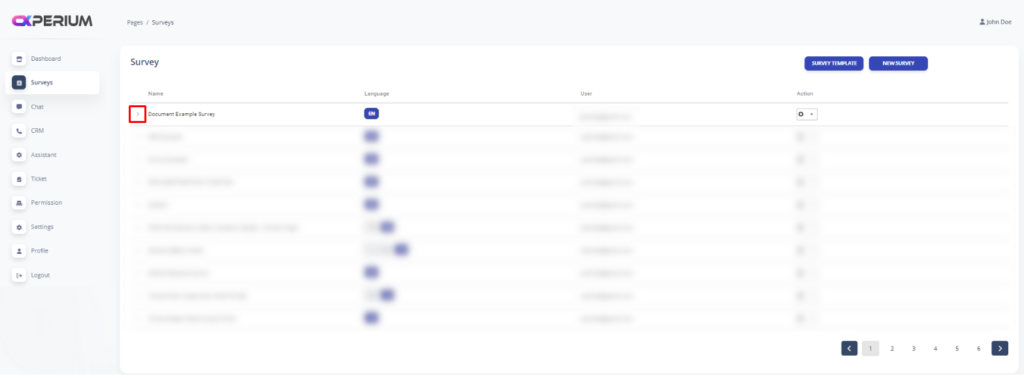
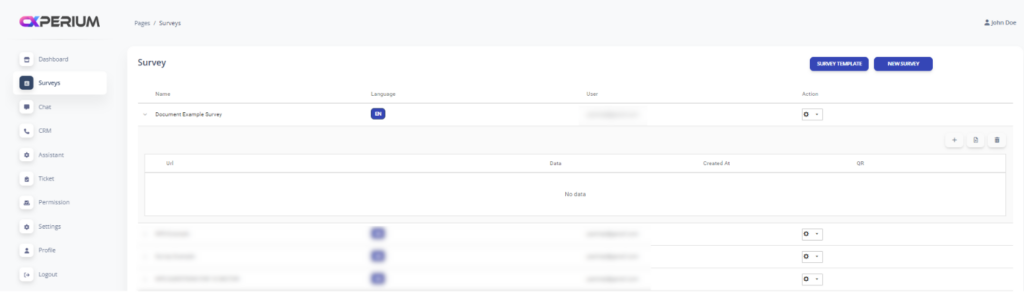
If we press the drow-down button shown in the red area while on the “Survey” screen, we will be greeted by the screen where we can view and create predata.
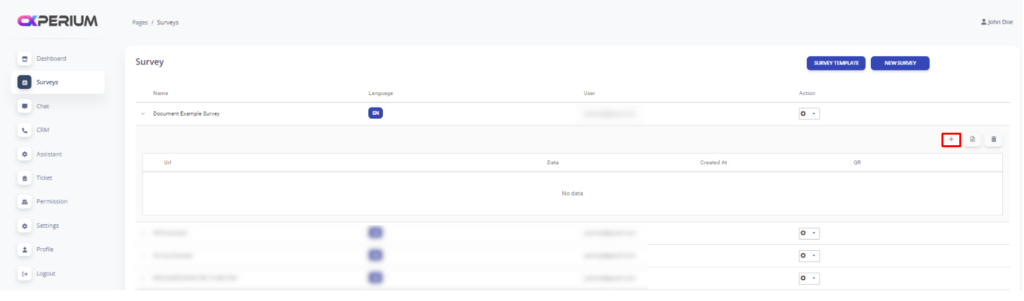
To create a new “Predefined Data”, we need to click on the “Add” button shown in the red area.
When we click on the “Add” button, we are greeted by the screen where we can create Predefined Data.

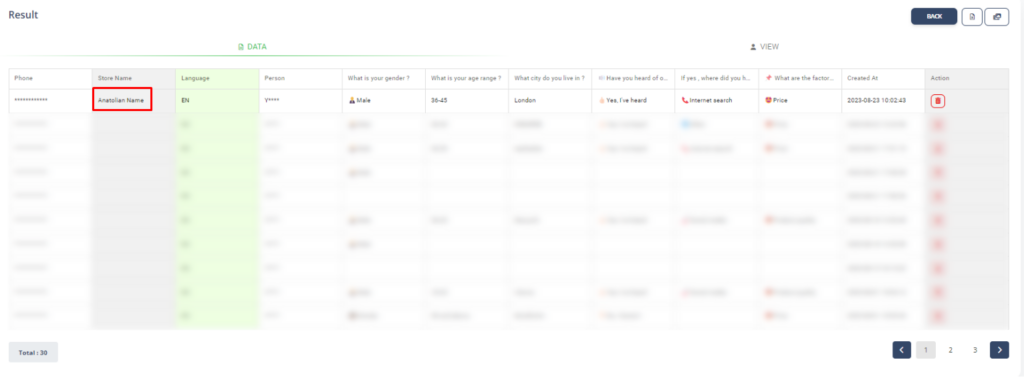
Keys: The name of the cell title to display in the Dashboard. Ex: Store Name
Value: The values in the corresponding cell header. Ex: Anatolian Name
Predefined Data example:
For example, Let’s imagine that we are a garment retailer. Let’s assume that we send a satisfaction survey to our customers after shopping in all our stores. Since the responses we receive to this survey are not included in any classification, we will provide us with a general data set.