Table of Contents
- With the ticket system, you can manage, organize and track your tasks.
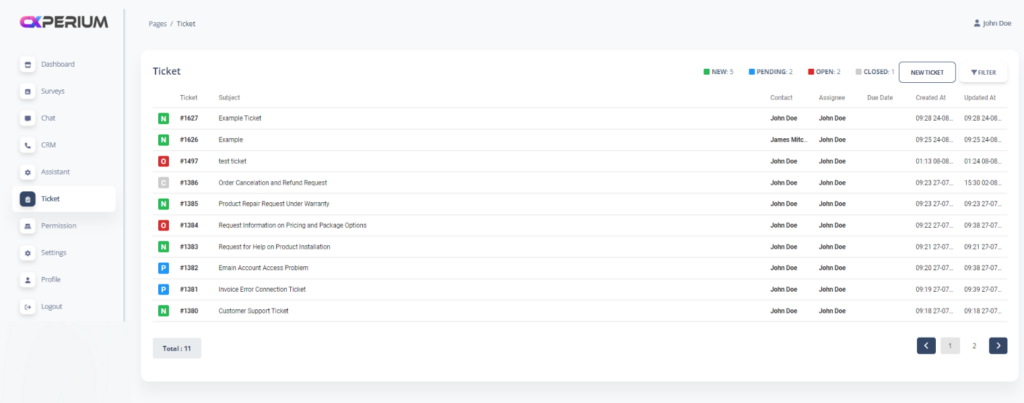
How To Create Ticket?
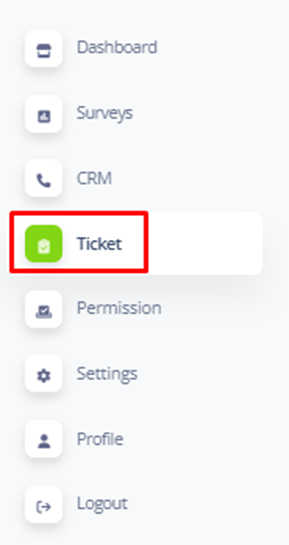
- Click the “Ticket” button on the side bar
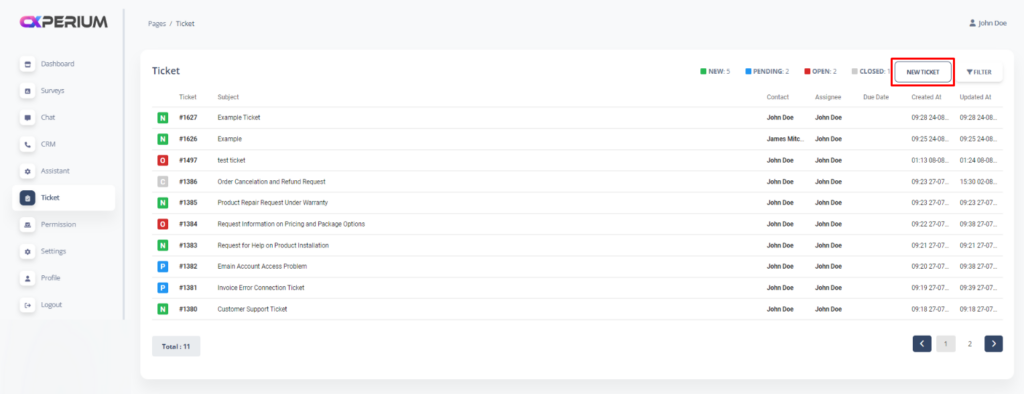
- Click “New Ticket” to create a task
- Fill necessary infromation and Click the “Save” Button
- Subject: This is the title of your ticket
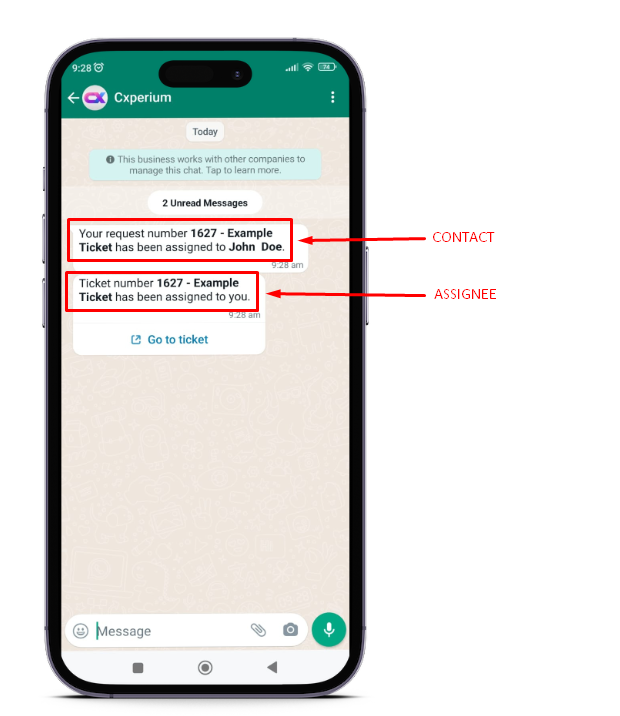
- Contact: This is who will be track the ticket.
- Assignee: It is who will complete the ticket
- Tags: It is the ticket tag that provide you to categorize tickets. Click here to learn more about tickets
- Message: You can give details and add documents to your ticket in this section
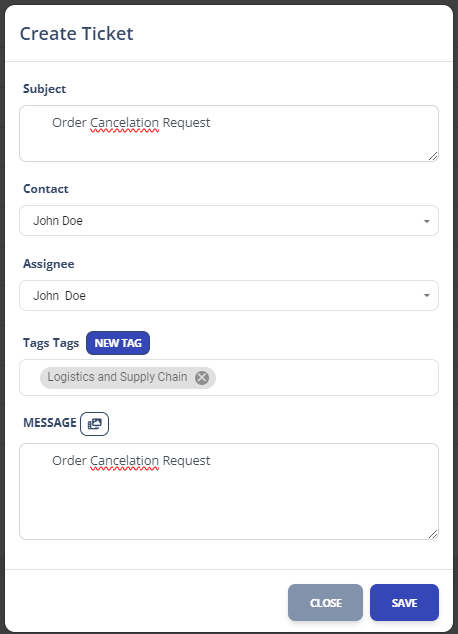
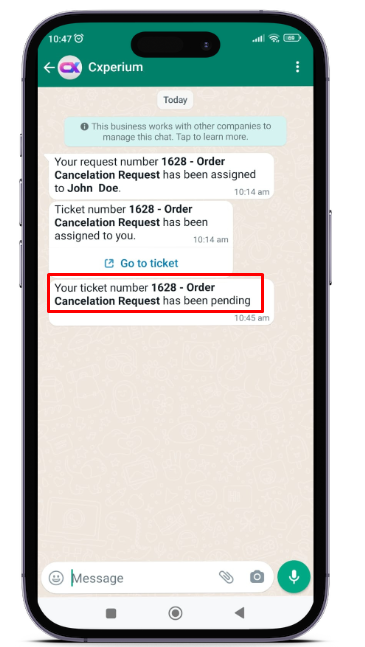
- After you saving it, Cxperium will send inform notification to your contact.
Editing Ticket
- Ticket system has a very simple and useful panel. Lets see the panel features together;
Change Ticket Details
- You can change assignee, date and tags here

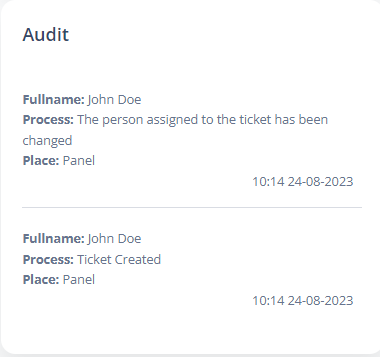
Audit Section
- You can track the process here
Comment Area
- You can comment to inform your contact about the task.
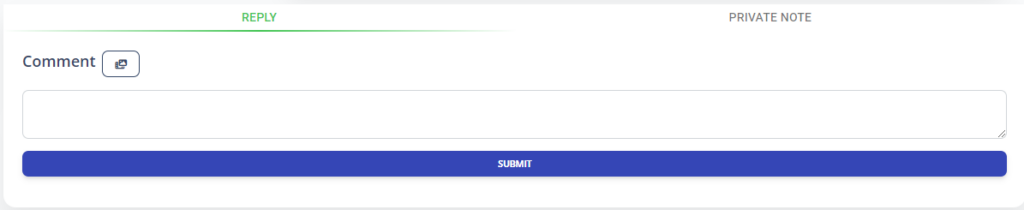
- You can also add media to your comment by clicking.

Private Note Area
- This area represent your private notes related to task. Only you can see it.

- You can also add media to your private note by clicking

Change Ticket Status
- Click the ticket status button to see other status
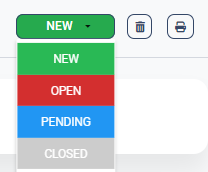
- Choose one of them according to status of ticket.
- New: If your ticket is created new
- Open: You select this status when you work on the ticket.
- Pending: In some situations, tickets wait to complete. You change the status as Pending in this conditions.
- Closed: You select this option if ticket is completed
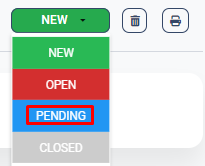
- You can see the changes on the button or ticket dashboard

- And ticket notifications inform the contact person related to ticket
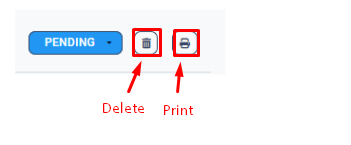
Delete or Print the Ticket
- You can Delete or Print your ticket by clicking